Setup project
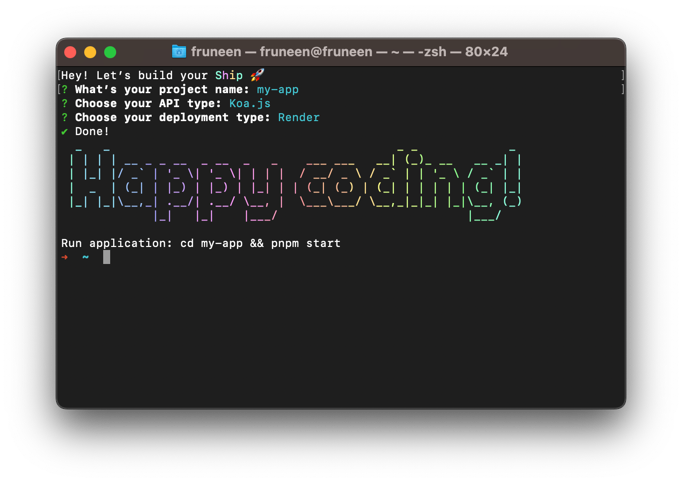
First, initialize your project. Typenpx create-ship-app init in the terminal then choose desired build type and Render as a cloud service provider.
MongoDB Atlas
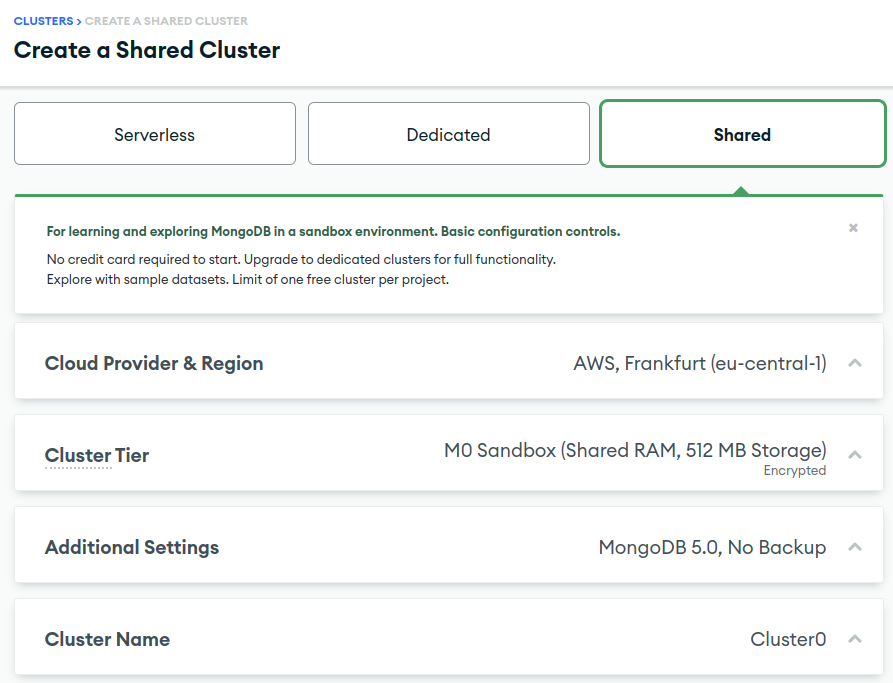
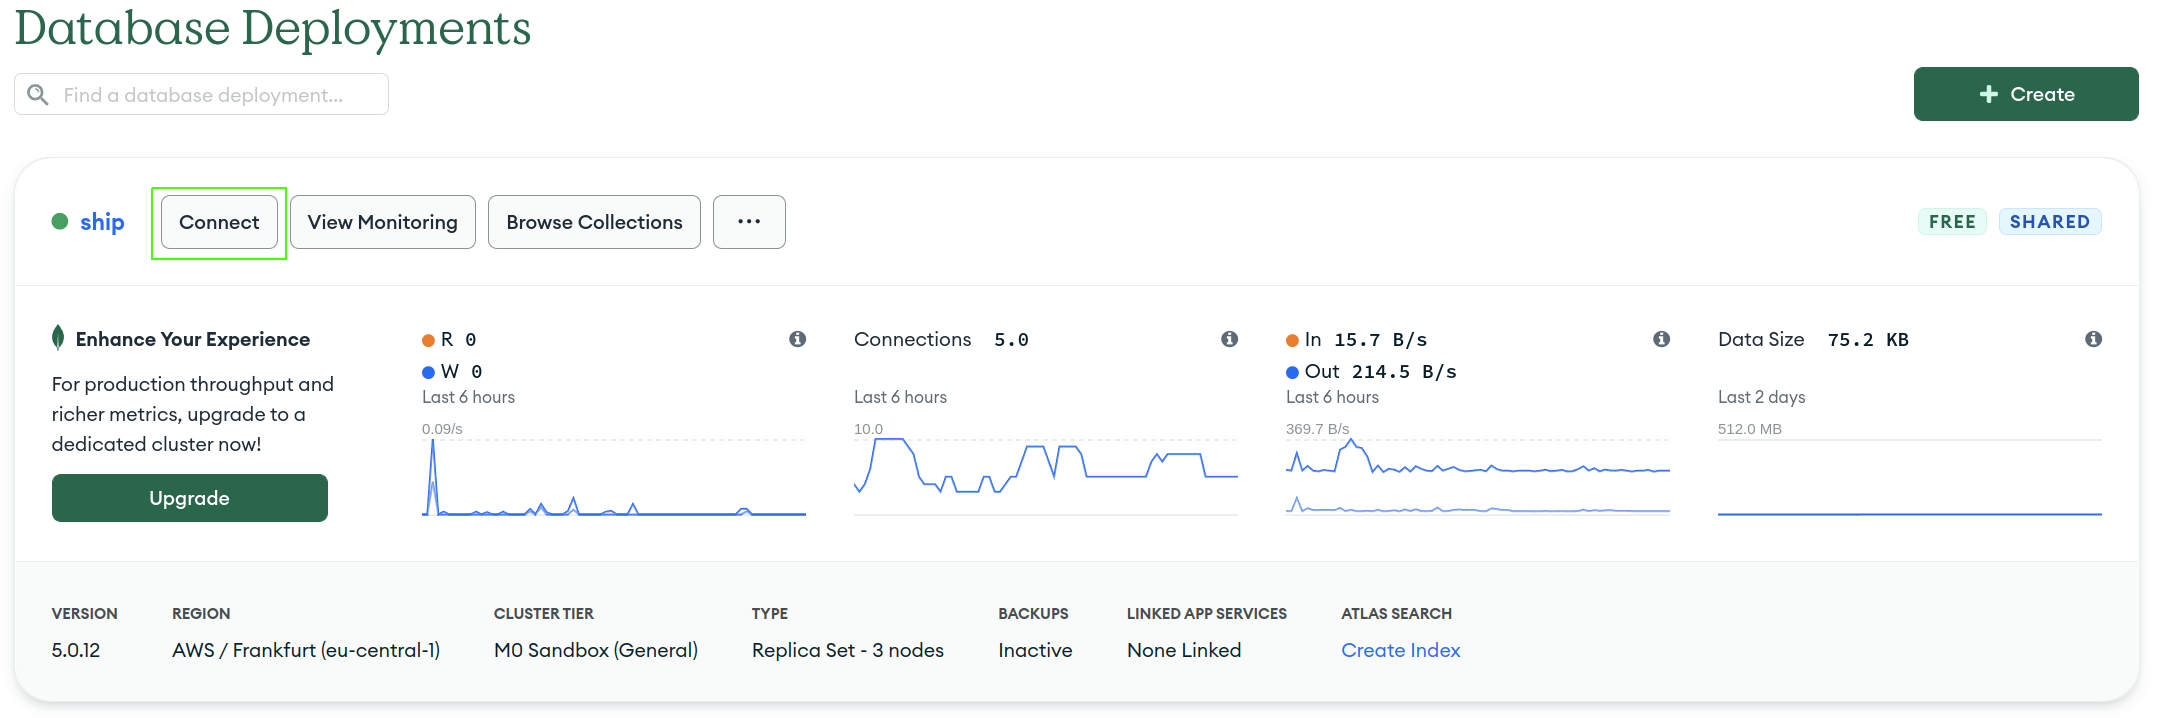
Navigate to MongoDB Atlas, sign in to your account and create a new database.Database creation
- Select the appropriate type. Dedicated for a production environment, shared for staging/demo.
- Select provider and region. We recommend selecting the same or closest region to the DO application.
- Select cluster tier. Free M0 Sandbox should be enough for staging/demo environments. For production environment we recommended selecting the option that supports cloud backups, M2 or higher.
- Enter cluster name
Security and connection
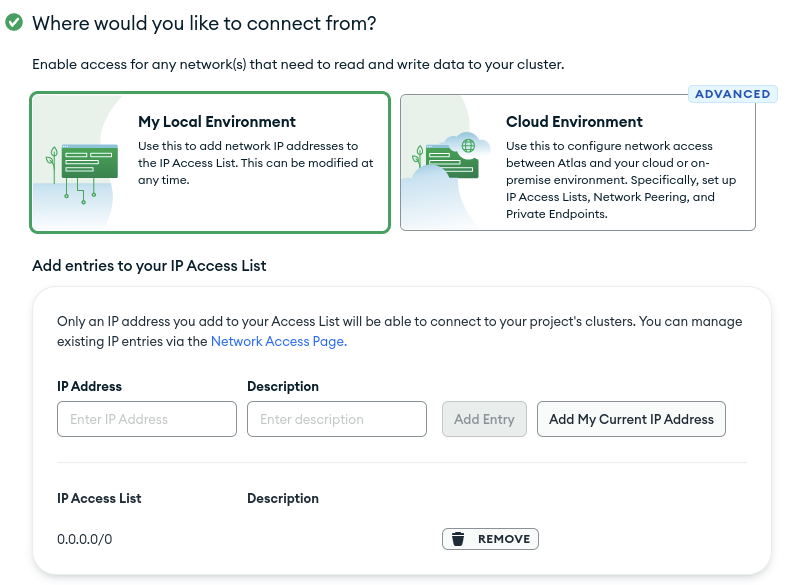
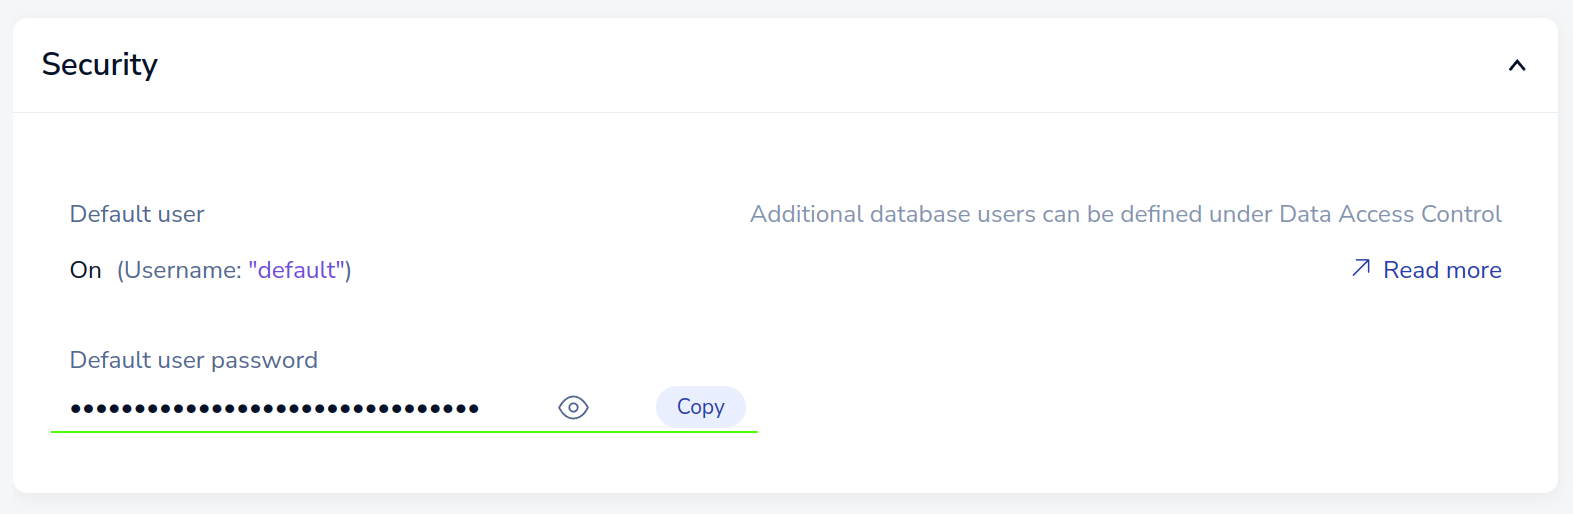
After cluster creation, you’ll need to set up security. Select the authentication type (username and password) and create a user.Please be aware that the initial character of the generated password should be a letter. If it isn’t, you’ll need to create a new password.
Failing to do this may lead to DigitalOcean parsing the
MONGO_URI variable incorrectly.
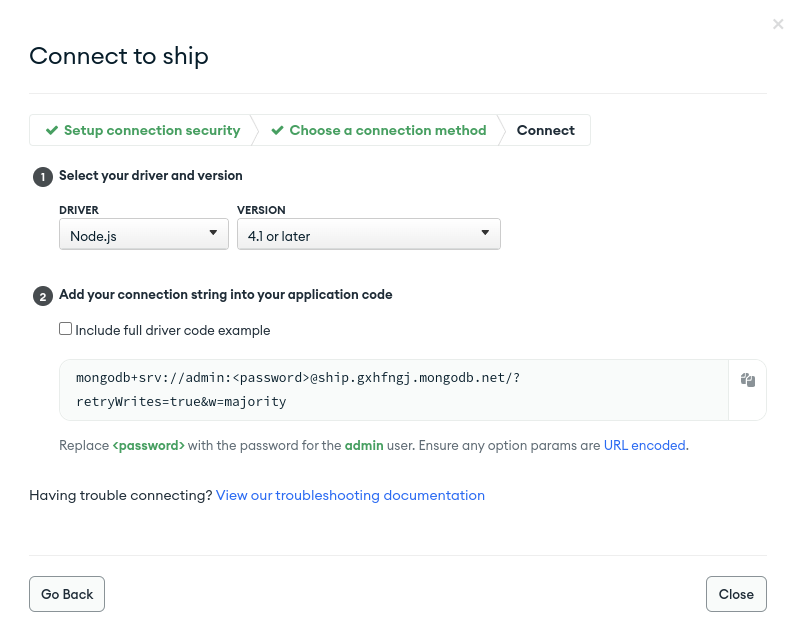
connect button.
Connect your application option. Choose driver and mongo version, and copy connection string. Don’t forget to replace <password> with your credentials.
Before moving to production, it’s crucial to set up MongoDB backup methods.This ensures that you can reliably restore your data in the event of unforeseen circumstances.
Redis Cloud
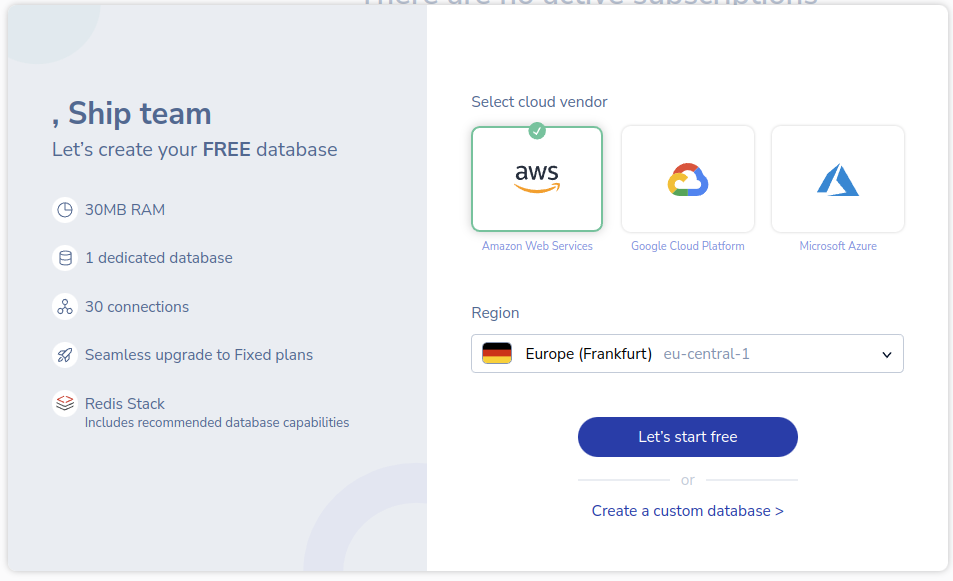
Navigate to Redis Cloud and create an account. Select cloud provider and region, then pressLet's start free to finish database creation.
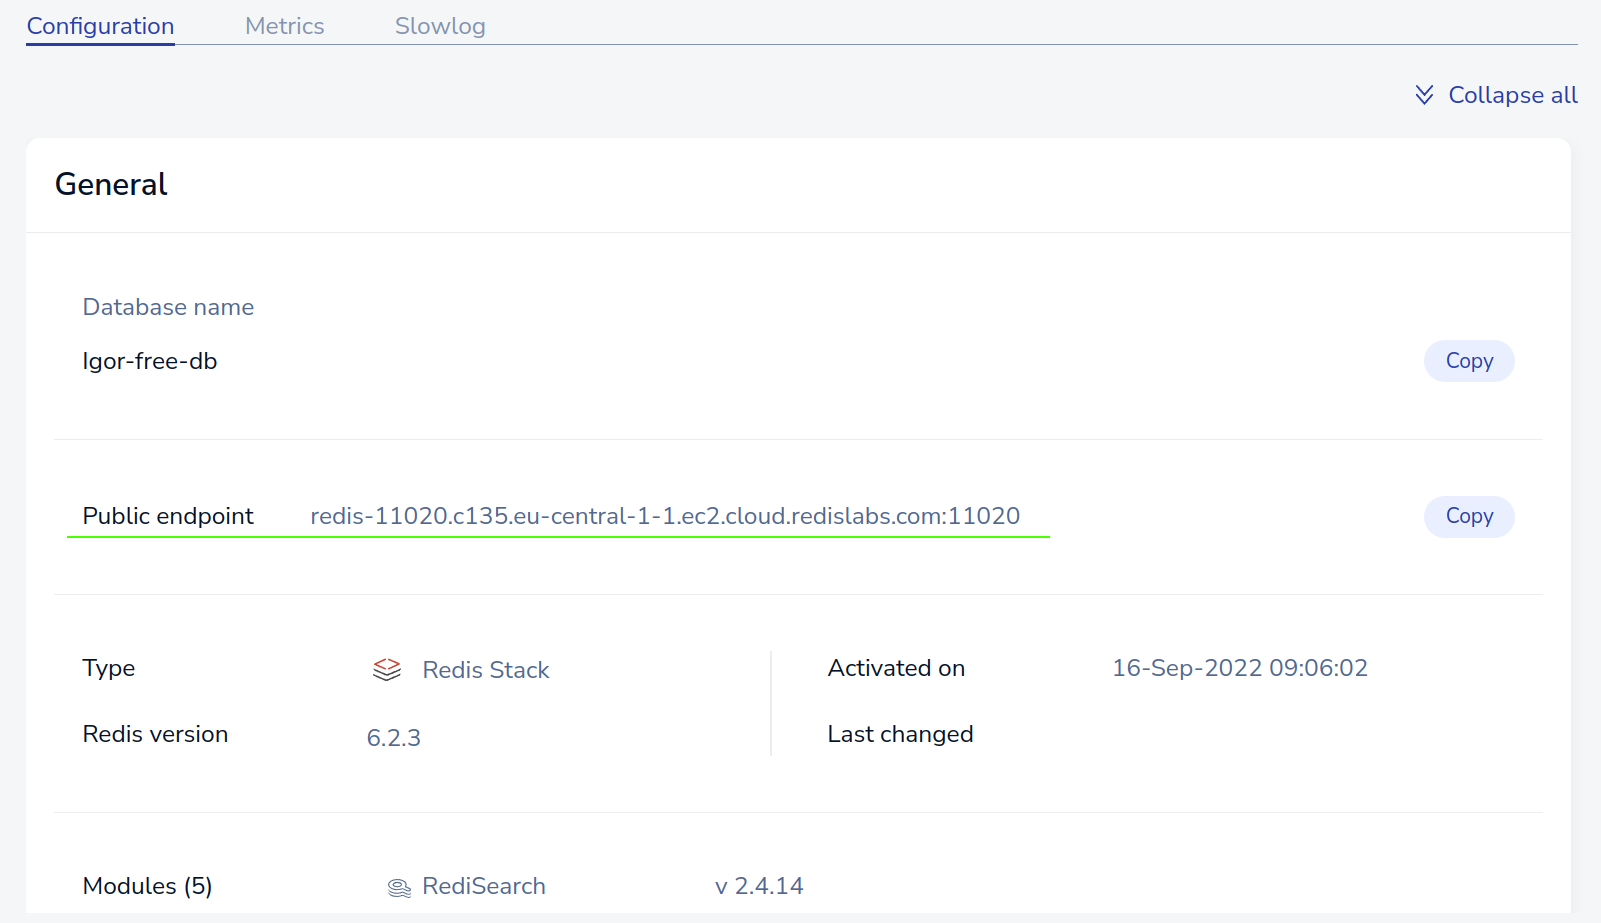
redis://:<password@<public-endpoint>. Save this value. It will be needed later when creating the app in Digital Ocean.
Render
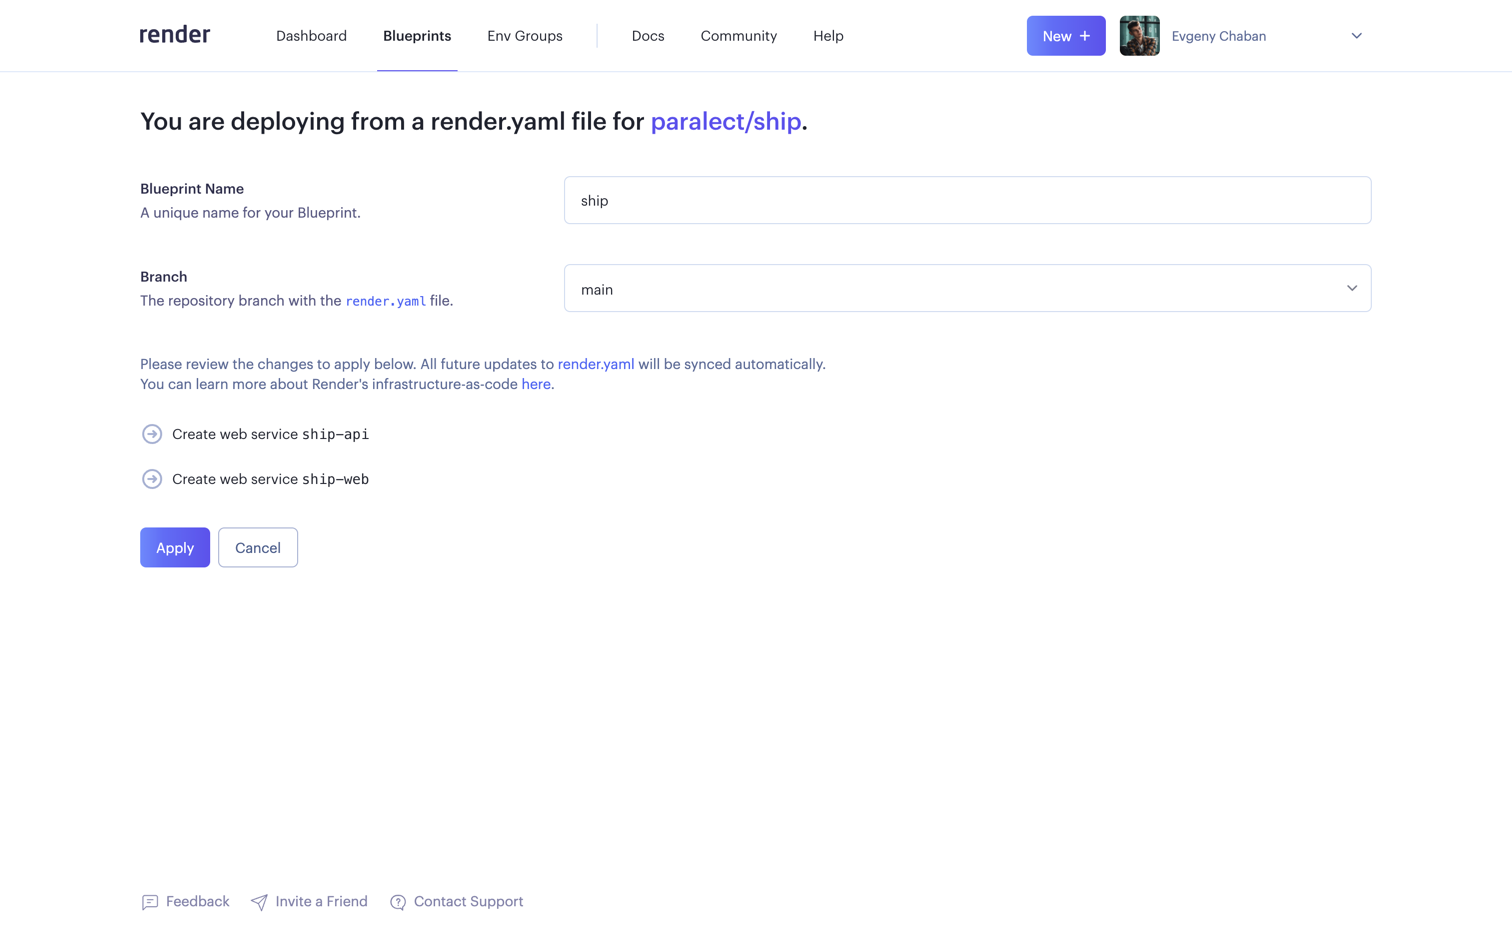
Navigate to the Render Dashboard Panel and select the Blueprints tab. TheFull-Stack build type requires 2 applications. First for Web and second for API, Migrator (TBD), and Scheduler (TBD) services.
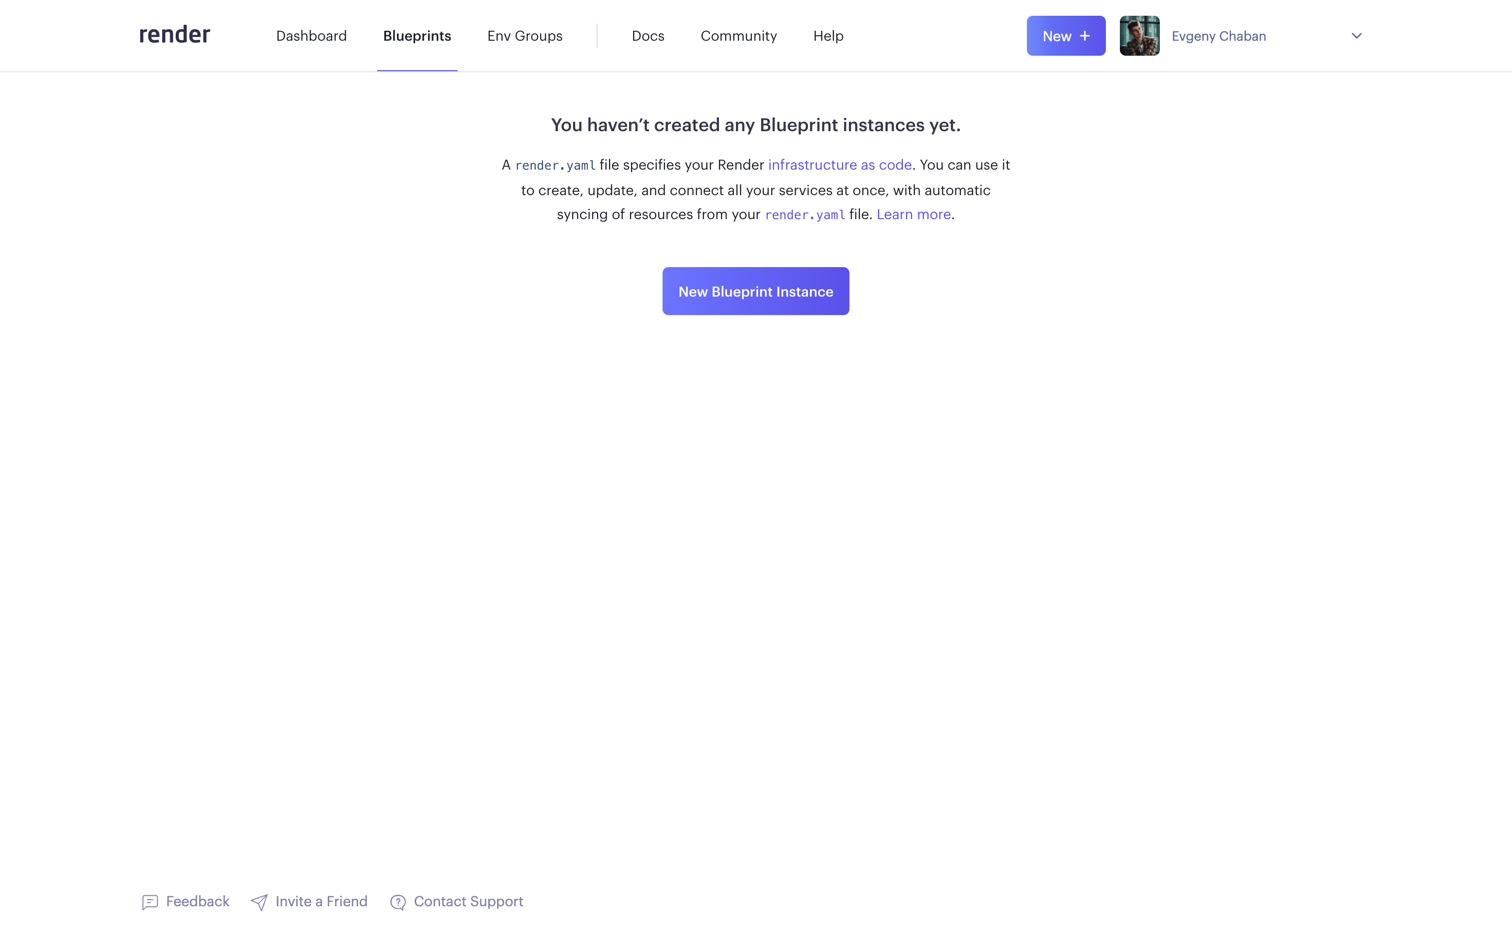
Ship provides an easy way to deploy your applications using Infrastructure as Code (IaC).You can learn more about Blueprint Specification here.
Review your
render.yaml file in the application root directory and make some corrections if necessary.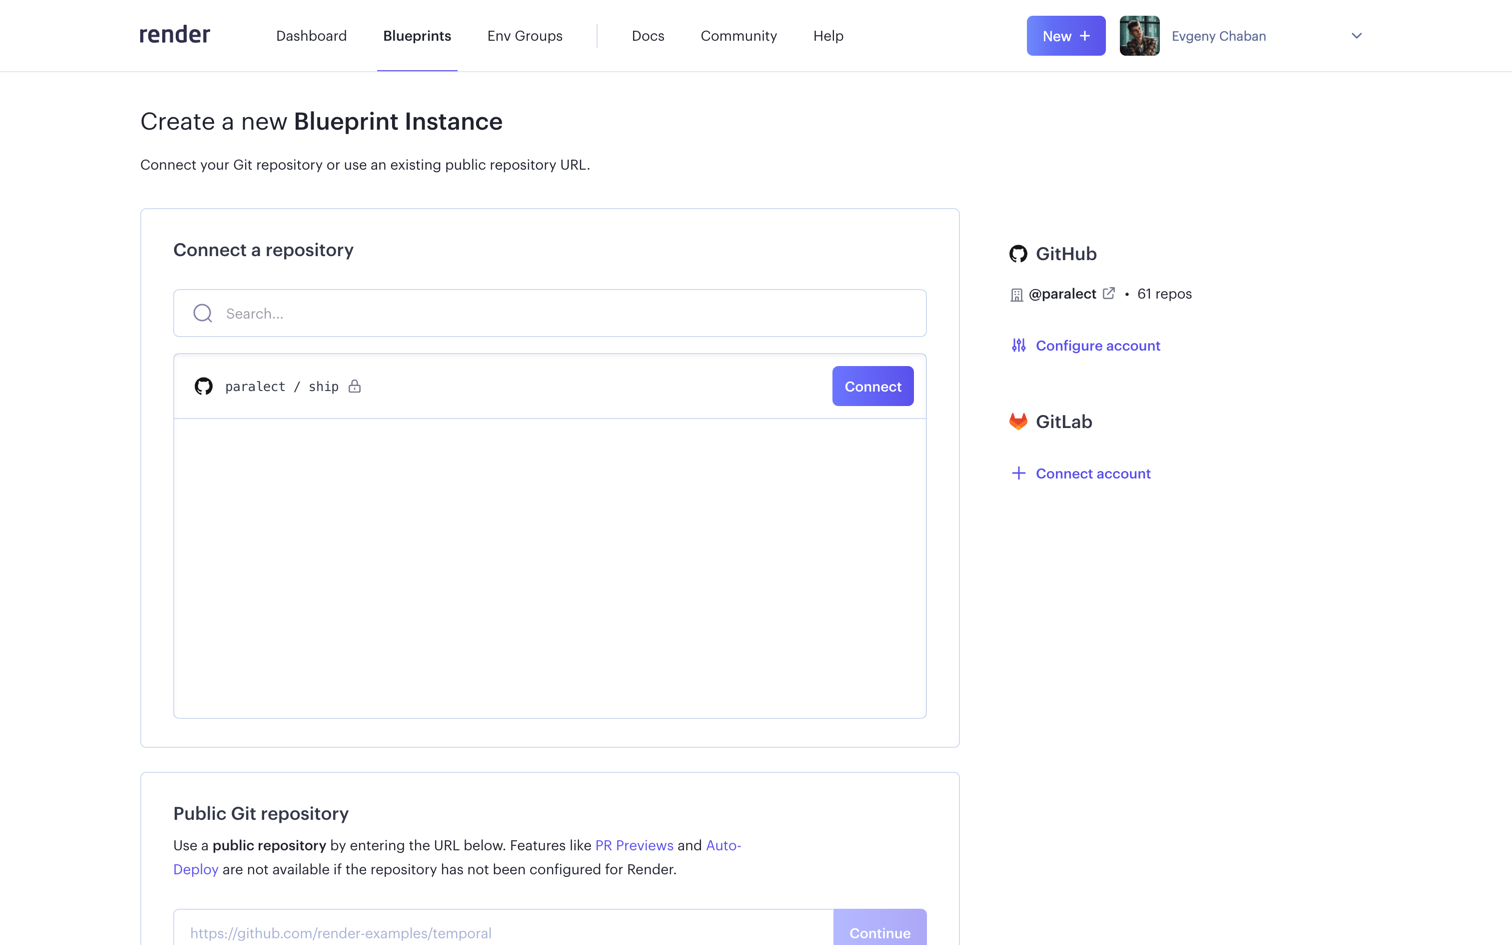
Environment variables
TheAPP_ENV environment variable is typically set based on the environment in which the application is running.
Its value corresponds to the specific environment, such as “development”, “staging” or “production”.
This variable helps the application identify its current environment and load the corresponding configuration.
For the web application, by setting the environment variable APP_ENV,
the application can determine the environment in which it is running and download the appropriate configuration file:
| APP_ENV | File |
|---|---|
| development | .env.development |
| staging | .env.staging |
| production | .env.production |
.env file that houses its environment-specific configuration.
This file typically contains variables like API keys, secrets, or other sensitive information.
To ensure security, it’s crucial to add the .env file to the .gitignore file,
preventing it from being tracked and committed to the repository.
So just specify the environment variables that will contain the values of your secrets.
For example, if you have a secret named API_KEY,
create an environment variable named API_KEY and set the value of the corresponding secret for it
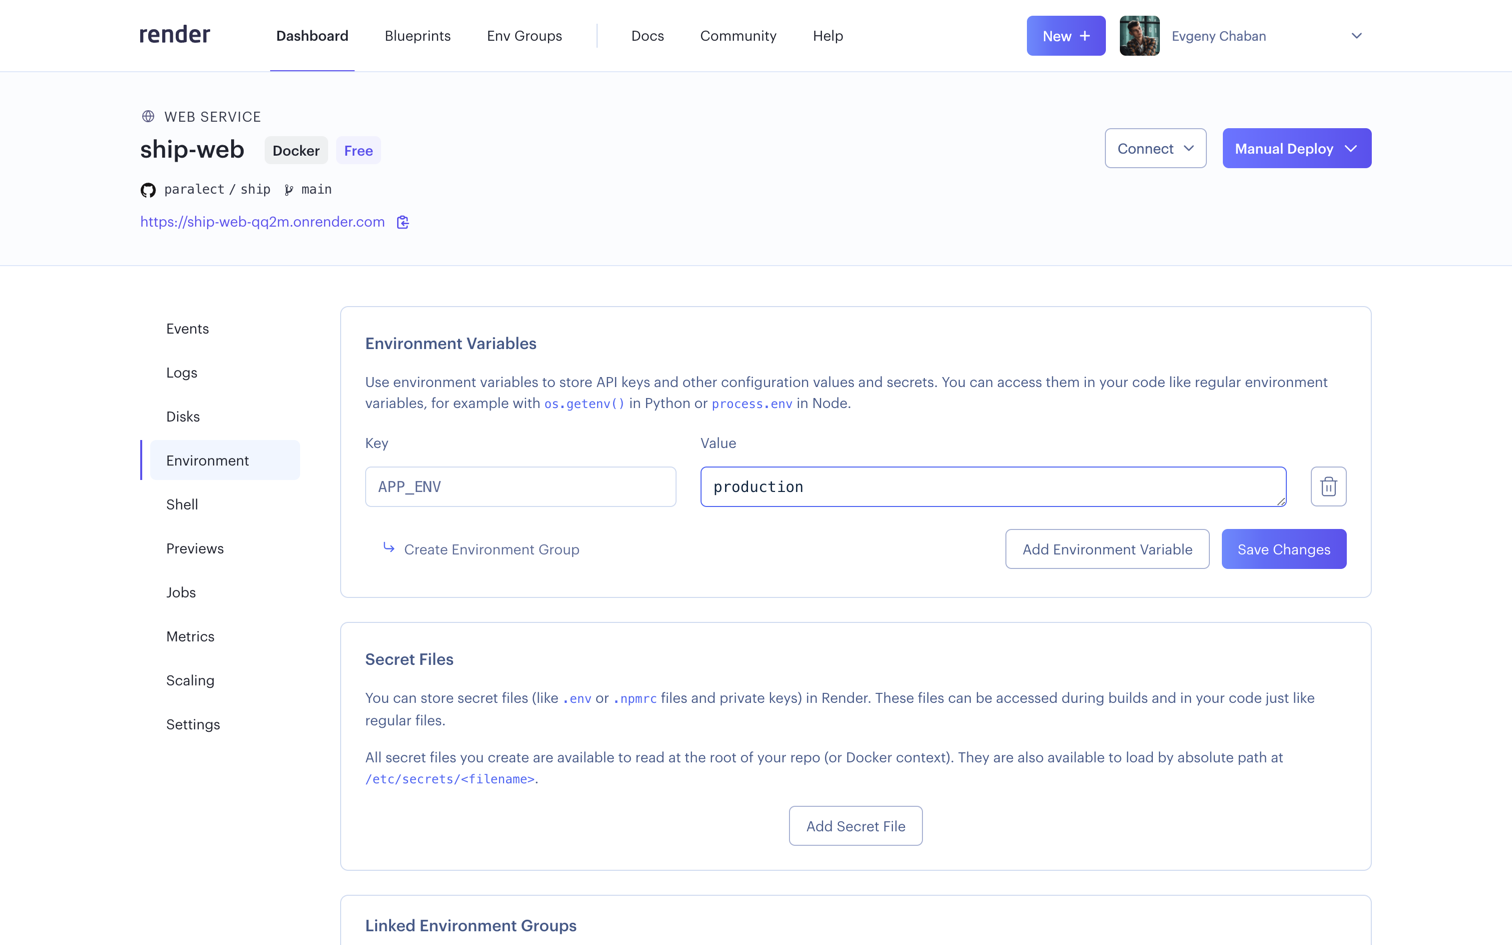
Now navigate to Dashboard, select your instance of Web Service and select the Environment tab in the sidebar.
Here you need to pass only one variable - APP_ENV.
Make sure that your web application has up-to-date environment data in the repository.
Cloudflare
Render provides an initial URL of the form
*.onrender.com to all deployed services.
onrender.com is a public suffix domain as it’s a shared domain across
all Render services - and is done so in order to protect users from being able to read each other’s cookies.Ship uses cookies to store tokens on the front-end side.
Therefore, you need a different domain to successfully deploy the application.If you don’t have a personal domain, you can use free solutions for educational purposes, such as
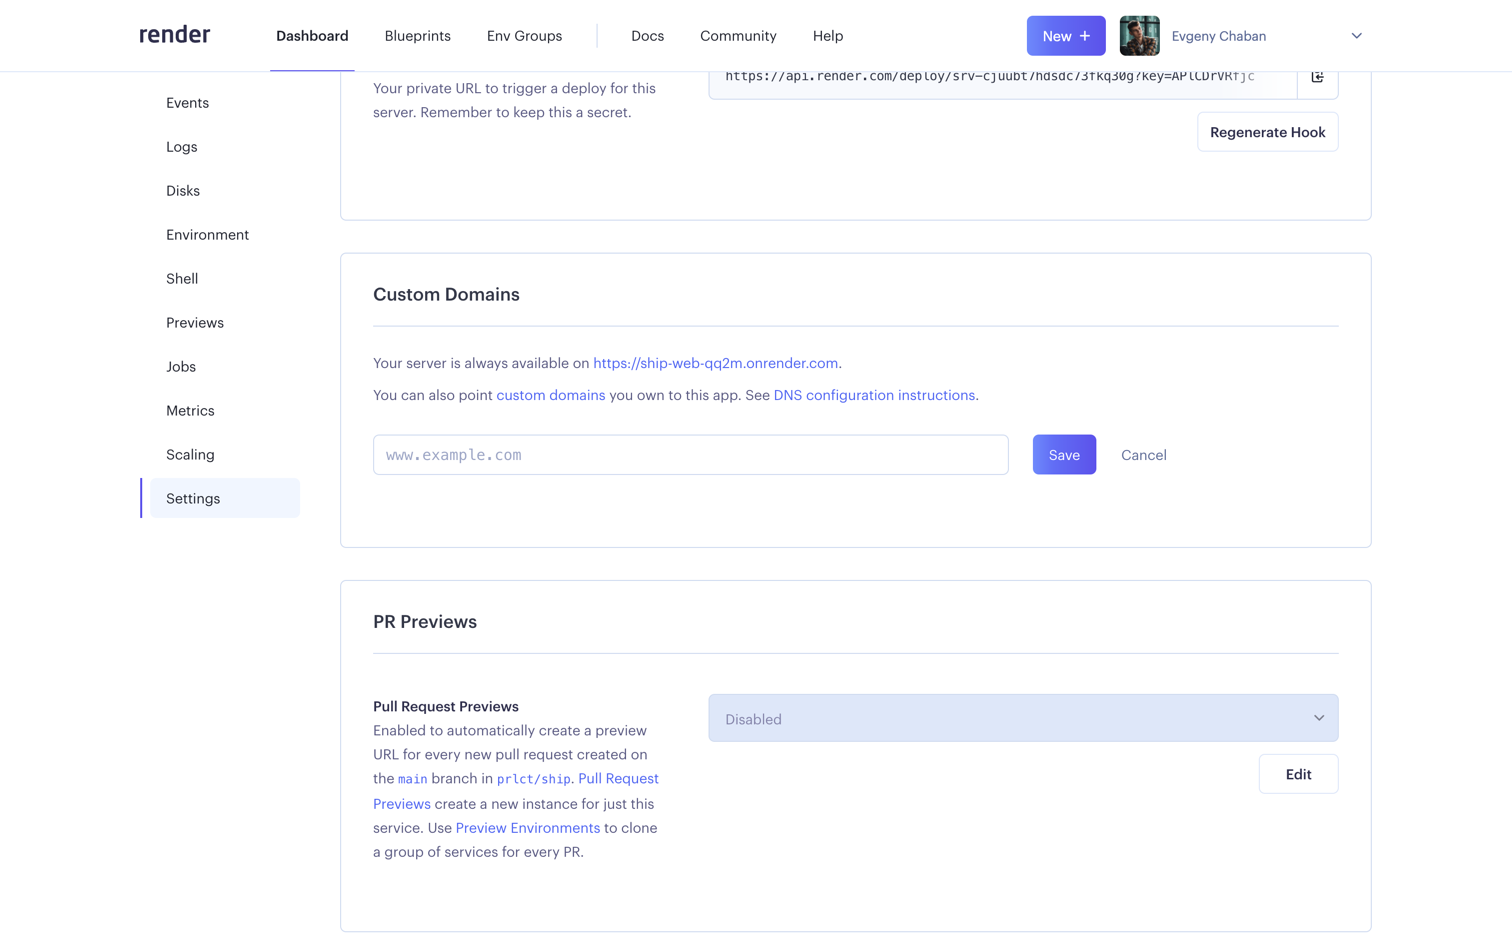
free-domain repository.Settings tab,
scroll down to the Custom Domains section and click the Add Custom Domain button.
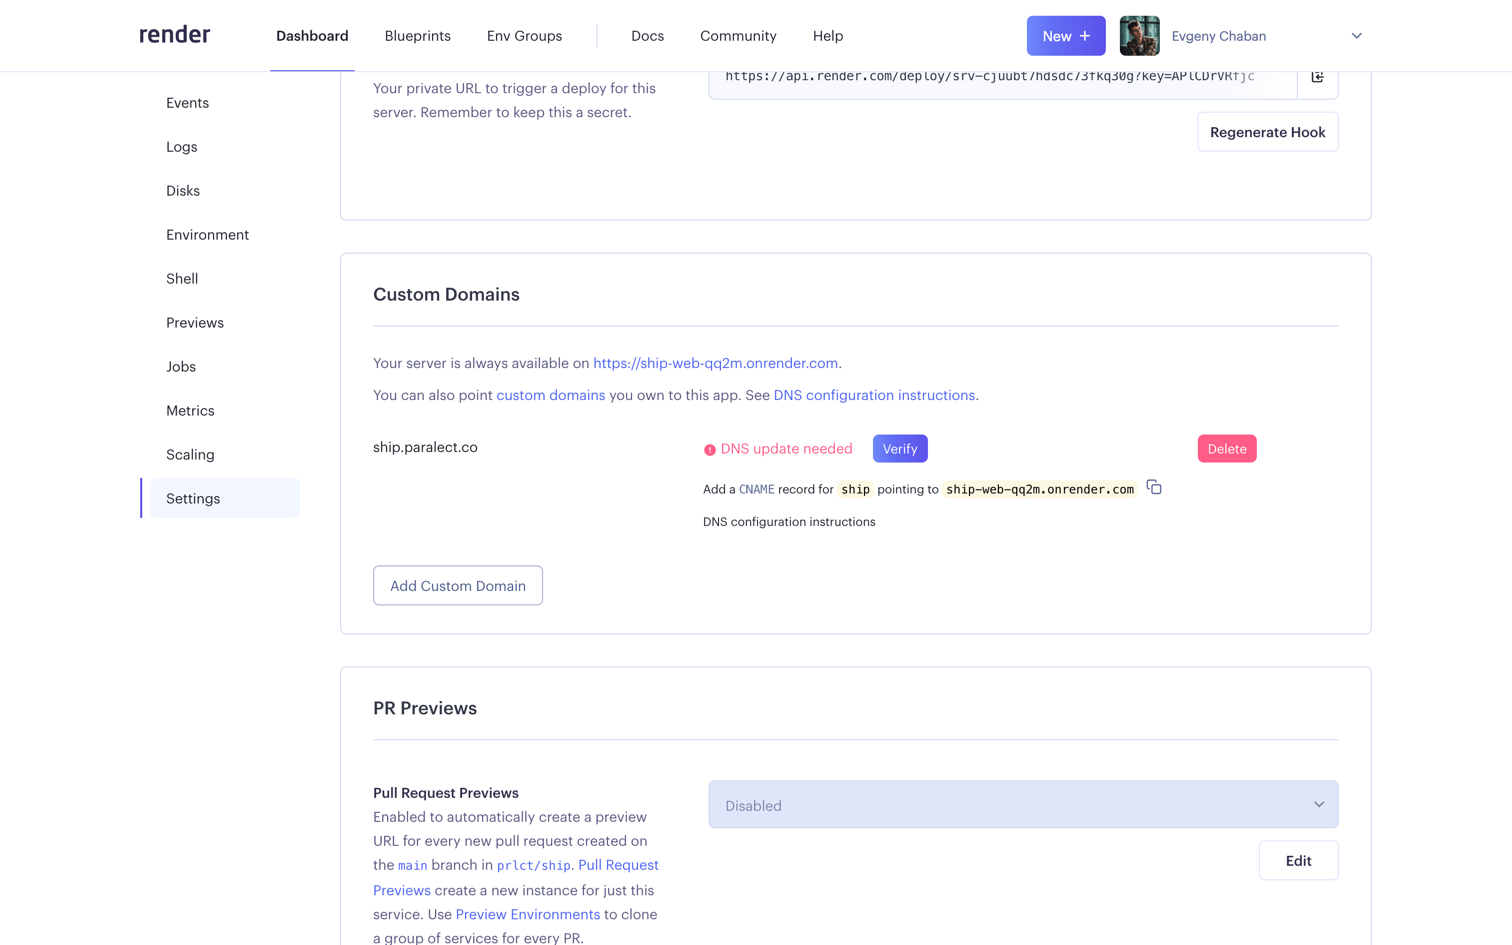
Save button.
After adding a new custom domain, you need to add a CNAME record in your DNS provider.
Copy this alias for your app and move on.
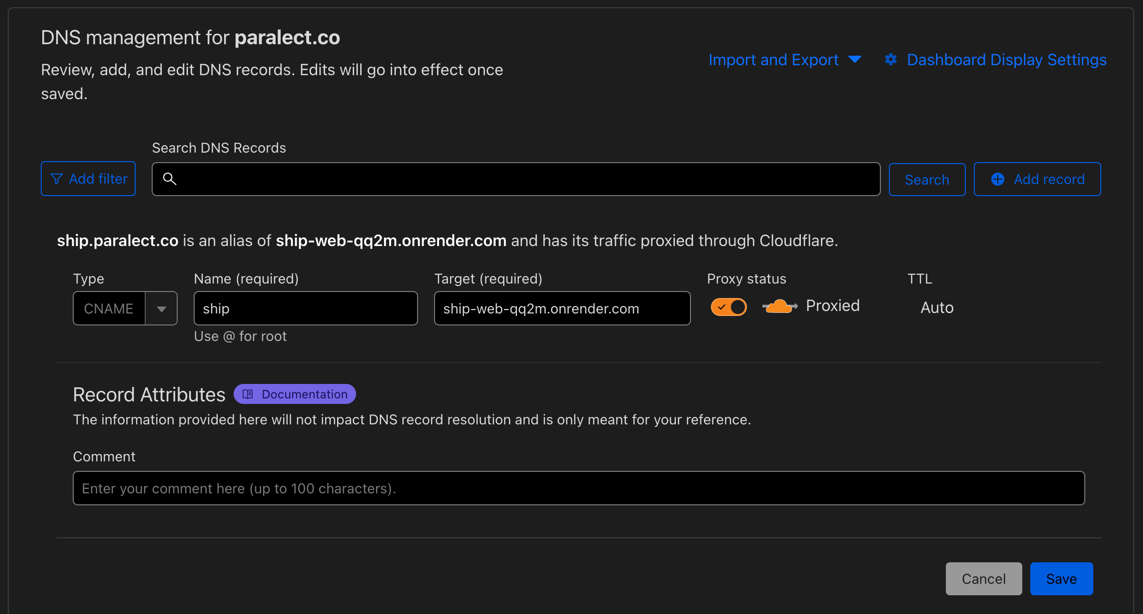
- Go to
DNStab and create a new record. - Click
Add record. Select typeCNAME, enter domain name (must be the same you entered in Render settings) and paste alias intotargetfield. Make sureProxy statustoggle enabled. - Save changes
Verify button.
It usually takes about 5 minutes for Render to confirm your domain and issue a certificate and start using your new domain.
Once the domain is confirmed, application can be accessed by new address.
Now make sure you have up-to-date environments in your API and Web applications.